How to Set Up a High-Performance Linux Desktop on an M1 Mac Mini
Introduction
Imagine a compact, power-sipping desktop that can run Linux flawlessly, costs less than most traditional mini PCs, and was never intended to run anything other than macOS. That machine exists: the Apple M1 Mac Mini. Thanks to the tireless work of the Asahi Linux project, this former Apple exclusive has become one of the best budget Linux desktops money can buy. In this guide, you'll learn exactly how to transform a used M1 Mac Mini into a fully functional Linux workstation—without sacrificing performance or stability.

What You Need
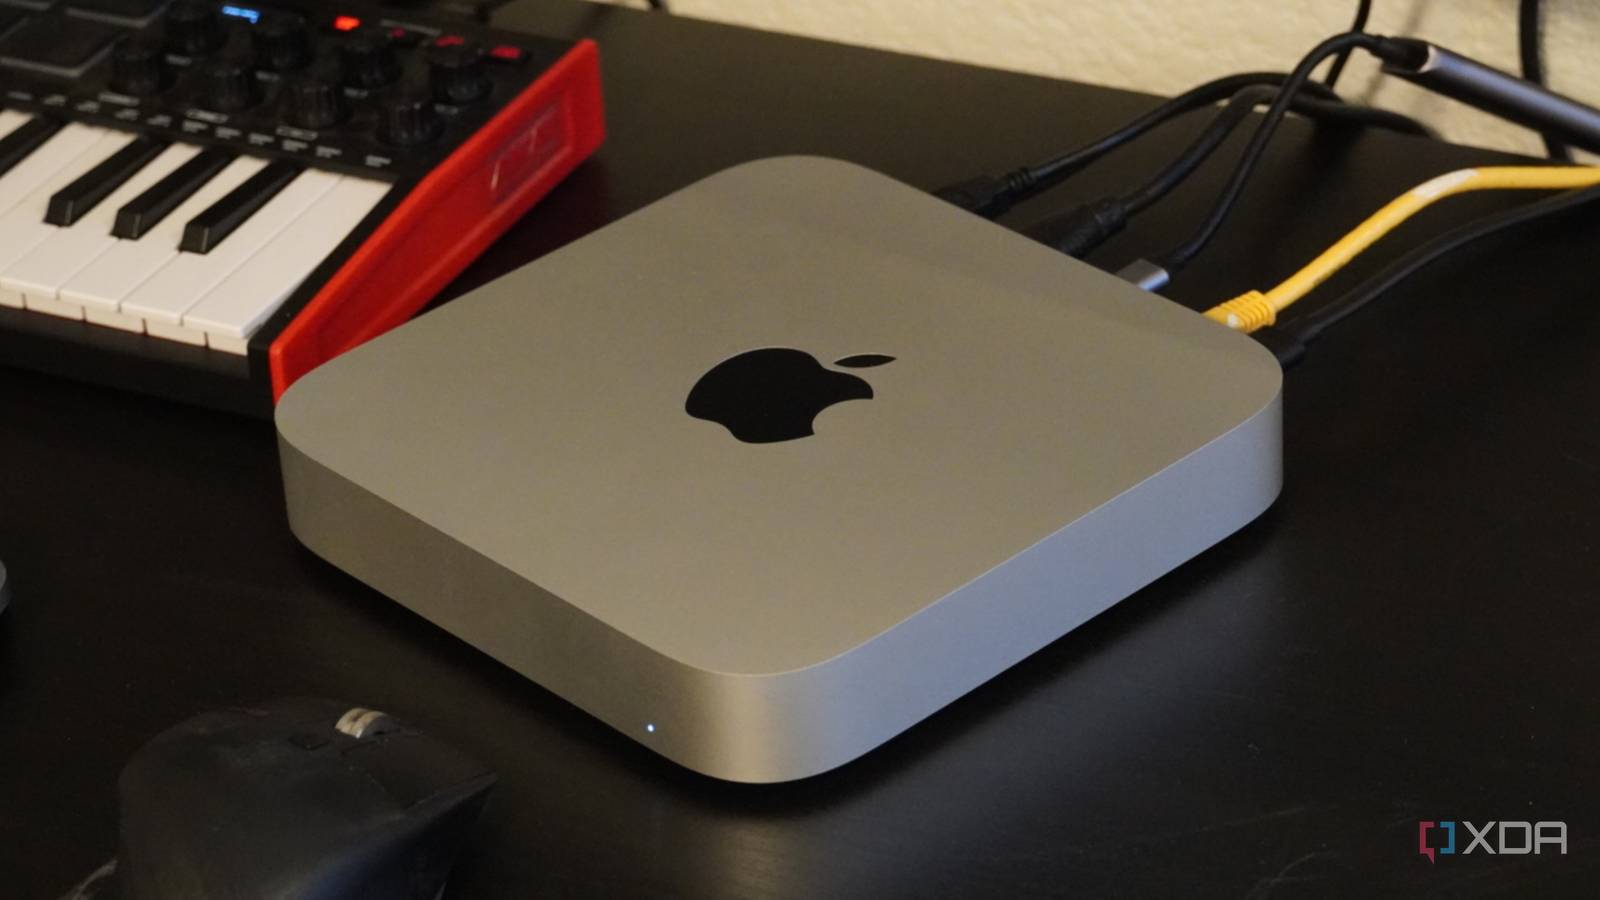
- An M1 Mac Mini – Any model with an M1 chip (2020 or later). Check used marketplaces for deals.
- A USB-C flash drive (16GB or larger) for the Asahi Linux installer.
- Internet connection – Required to download the installer and install packages.
- Mac Admin password – You need sudo access in macOS recovery.
- Patience – The initial installation can take 20–30 minutes.
Step 1: Obtain an M1 Mac Mini
The first step is to get your hands on the hardware. Search reputable resellers or secondhand markets for an M1 Mac Mini. Prices have dropped significantly since the M2 and M3 models launched, making this a very affordable option. Look for units in good condition; even the base 8GB RAM/256GB SSD model works well for most Linux tasks. Ensure the Mac Mini can at least boot into macOS—this is required for the initial setup.
Step 2: Prepare macOS for the Installation
Before installing Linux, you need to boot your Mac Mini into macOS Recovery mode. Here's how:
- Shut down the Mac Mini completely.
- Press and hold the power button until you see Loading startup options. Release the button.
- Click Options, then select your administrator account and enter the password.
- Once in Recovery, open Terminal from the Utilities menu.
In Terminal, check that your Mac is using the correct firmware. Type csrutil status – it should say System Integrity Protection status: disabled. If it’s enabled, disable it by running csrutil disable (you can re‑enable later).
Step 3: Download the Asahi Linux Installer
While still in Recovery’s Terminal, run the following command to fetch the official Asahi Linux installer:
curl -L https://alx.sh | shThis downloads and runs a script that will guide you through the installation. The script checks your Mac model, verifies compatibility, and prompts you to select how much disk space to allocate to Linux. If you plan to dual‑boot with macOS, leave at least 100GB for Linux. For a single‑boot Linux machine, you can use the entire drive (but note that reinstalling macOS later may require internet recovery).
Step 4: Partition the Drive and Install
After the script runs, you will see a partitioning dialog. Choose your desired partition size for Linux. The script will shrink macOS APFS volume and create a new partition. Once you confirm, the actual installation begins. This process takes 10–20 minutes. The script downloads the latest Asahi Linux packages and sets up the bootloader. When finished, it will ask you to reboot.
Step 5: Configure the Boot Manager
After reboot, your Mac Mini will present a screen asking you to select an operating system. Choose Asahi Linux (or the default option). It will then boot into a first‑time setup – you’ll create a user account, set the time zone, and connect to Wi‑Fi. The default desktop environment is KDE Plasma, but you can change it later. The Asahi team has carefully optimized the software to work with Apple Silicon, so you get excellent performance from the M1’s GPU and CPU cores.
Step 6: Install Drivers and Firmware Updates
After first boot, open a terminal and run the following to ensure you have the latest drivers and firmware:
sudo pacman -SyuThis updates all packages. Additionally, Asahi provides proprietary firmware for the wireless chipset and GPU. Enable the asahi‑linux package repository to get regular updates. Your system will now be fully functional, with support for USB‑C, Thunderbolt, audio via 3.5mm jack, Bluetooth, and Wi‑Fi. Note that some features (like HDMI audio after sleep) are still in development, but most day‑to‑day tasks work flawlessly.
Step 7: Customize Your Environment
Now you have a fully running Linux desktop on an M1 Mac Mini. Take advantage of the hardware’s strengths:
- Enable power management – The M1 is incredibly efficient; install
tlpto maximize battery life (if you use a UPS) or reduce heat. - Install development tools – Compilers, editors, and containers run natively on ARM64. The Asahi team provides a patched GCC and LLVM.
- Set up multimedia – Install
ffmpegwith hardware acceleration (requires Mesa patches included with Asahi).
You can also switch to a different desktop environment like GNOME or Sway if KDE isn’t your style.
Tips and Final Thoughts
Keep macOS as a fallback: Even if you plan to use Linux full‑time, keep a small macOS partition for firmware updates and recovery. The Asahi installer usually leaves macOS intact unless you choose to wipe it entirely.
Monitor Asahi Linux updates: The project is still in alpha for some hardware features. Check their website monthly for new firmware or kernel patches. Subscribe to their mailing list to stay informed.
Why this combo works: The M1 Mac Mini offers better CPU and GPU performance than most budget x86 mini PCs at the same price point (used). Combined with Asahi Linux, you get a silent, power‑efficient, and fully open‑source desktop that can handle everything from web browsing to light video editing. It’s a strange bargain that only gets better with time.
Resell value: Should you ever want to sell the Mac Mini, reinstalling macOS is straightforward (hold Command+R on boot for internet recovery). This flexibility makes it a low‑risk experiment.